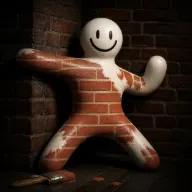
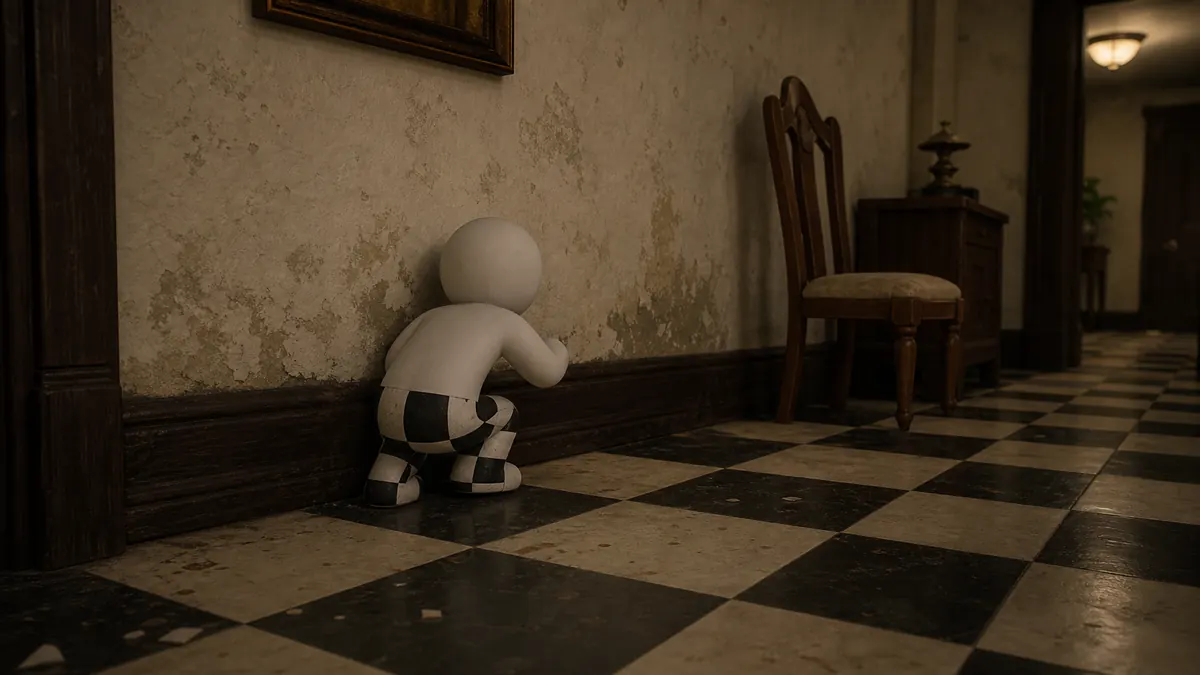
Camo Lab Lite is an interactive MECCHA CHAMELEON camo practice helper. Pick the surface closest to your failed hide, choose what gave you away, then use one focused practice prompt before the next round.
MECCHA CHAMELEON Camo Lab flow: choose surface, choose failure reason, retest one failed hide, then review the painting checklist.
Next round, keep the same surface and pose, then adjust only the dominant paint color. Do not chase tiny details until the first scan looks close.
Use this with flat wall: Practice stillness and silhouette control first.
Practice focus: silhouette
Next round, keep the same paint color and only change your pose. Stand on the seeker path for three seconds and check whether your outline still looks like a player.
Use this with flat wall: Practice stillness and silhouette control first.
Practice focus: stillness
Next round, choose the same style of spot and stop moving earlier. Let the seeker scan pass before correcting color, camera angle, or pose.
Use this with flat wall: Practice stillness and silhouette control first.
Practice focus: pose choice
Next round, choose one pose that makes your body read like a nearby object. Avoid limbs, head shapes, or long edges that cut across the surface pattern.
Use this with flat wall: Practice stillness and silhouette control first.
Practice focus: surface fit
Next round, pick a surface where an object would plausibly belong before painting. A close color cannot rescue a spot that looks empty or impossible.
Use this with flat wall: Practice stillness and silhouette control first.
Practice focus: scan path
Next round, keep the same surface family but move just outside the direct sweep path. Judge the hide from where the seeker actually walks.
Use this with flat wall: Practice stillness and silhouette control first.
Tiled floor
Pattern note
Match rhythm; grid direction matters more than tiny details.
Pose note
Keep the outline low and aligned with the floor grid.
Risk
Medium-high
Surface tip
Check whether your body breaks the repeated floor pattern.
Practice focus: dominant color
Next round, keep the same surface and pose, then adjust only the dominant paint color. Do not chase tiny details until the first scan looks close.
Use this with tiled floor: Check whether your body breaks the repeated floor pattern.
Practice focus: silhouette
Next round, keep the same paint color and only change your pose. Stand on the seeker path for three seconds and check whether your outline still looks like a player.
Use this with tiled floor: Check whether your body breaks the repeated floor pattern.
Practice focus: stillness
Next round, choose the same style of spot and stop moving earlier. Let the seeker scan pass before correcting color, camera angle, or pose.
Use this with tiled floor: Check whether your body breaks the repeated floor pattern.
Practice focus: pose choice
Next round, choose one pose that makes your body read like a nearby object. Avoid limbs, head shapes, or long edges that cut across the surface pattern.
Use this with tiled floor: Check whether your body breaks the repeated floor pattern.
Practice focus: surface fit
Next round, pick a surface where an object would plausibly belong before painting. A close color cannot rescue a spot that looks empty or impossible.
Use this with tiled floor: Check whether your body breaks the repeated floor pattern.
Practice focus: scan path
Next round, keep the same surface family but move just outside the direct sweep path. Judge the hide from where the seeker actually walks.
Use this with tiled floor: Check whether your body breaks the repeated floor pattern.
Tiled wall
Pattern note
Vertical and horizontal grout lines expose odd angles.
Pose note
Choose a pose that keeps limbs from cutting across the grid.
Risk
Medium-high
Surface tip
Retest with the same color and only change pose alignment.
Practice focus: dominant color
Next round, keep the same surface and pose, then adjust only the dominant paint color. Do not chase tiny details until the first scan looks close.
Use this with tiled wall: Retest with the same color and only change pose alignment.
Practice focus: silhouette
Next round, keep the same paint color and only change your pose. Stand on the seeker path for three seconds and check whether your outline still looks like a player.
Use this with tiled wall: Retest with the same color and only change pose alignment.
Practice focus: stillness
Next round, choose the same style of spot and stop moving earlier. Let the seeker scan pass before correcting color, camera angle, or pose.
Use this with tiled wall: Retest with the same color and only change pose alignment.
Practice focus: pose choice
Next round, choose one pose that makes your body read like a nearby object. Avoid limbs, head shapes, or long edges that cut across the surface pattern.
Use this with tiled wall: Retest with the same color and only change pose alignment.
Practice focus: surface fit
Next round, pick a surface where an object would plausibly belong before painting. A close color cannot rescue a spot that looks empty or impossible.
Use this with tiled wall: Retest with the same color and only change pose alignment.
Practice focus: scan path
Next round, keep the same surface family but move just outside the direct sweep path. Judge the hide from where the seeker actually walks.
Use this with tiled wall: Retest with the same color and only change pose alignment.
Busy shelves/objects
Pattern note
Noise can hide small mismatch, but not obvious motion.
Pose note
Stay visually object-like, not player-like.
Risk
Medium
Surface tip
Compare your outline against nearby object clusters.
Practice focus: dominant color
Next round, keep the same surface and pose, then adjust only the dominant paint color. Do not chase tiny details until the first scan looks close.
Use this with busy shelves/objects: Compare your outline against nearby object clusters.
Practice focus: silhouette
Next round, keep the same paint color and only change your pose. Stand on the seeker path for three seconds and check whether your outline still looks like a player.
Use this with busy shelves/objects: Compare your outline against nearby object clusters.
Practice focus: stillness
Next round, choose the same style of spot and stop moving earlier. Let the seeker scan pass before correcting color, camera angle, or pose.
Use this with busy shelves/objects: Compare your outline against nearby object clusters.
Practice focus: pose choice
Next round, choose one pose that makes your body read like a nearby object. Avoid limbs, head shapes, or long edges that cut across the surface pattern.
Use this with busy shelves/objects: Compare your outline against nearby object clusters.
Practice focus: surface fit
Next round, pick a surface where an object would plausibly belong before painting. A close color cannot rescue a spot that looks empty or impossible.
Use this with busy shelves/objects: Compare your outline against nearby object clusters.
Practice focus: scan path
Next round, keep the same surface family but move just outside the direct sweep path. Judge the hide from where the seeker actually walks.
Use this with busy shelves/objects: Compare your outline against nearby object clusters.
Dark corner
Pattern note
Too much contrast can make the shape pop.
Pose note
Edges are dangerous; tuck the outline into believable shadows.
Risk
High
Surface tip
Ask if the corner looks like a real object belongs there.
Practice focus: dominant color
Next round, keep the same surface and pose, then adjust only the dominant paint color. Do not chase tiny details until the first scan looks close.
Use this with dark corner: Ask if the corner looks like a real object belongs there.
Practice focus: silhouette
Next round, keep the same paint color and only change your pose. Stand on the seeker path for three seconds and check whether your outline still looks like a player.
Use this with dark corner: Ask if the corner looks like a real object belongs there.
Practice focus: stillness
Next round, choose the same style of spot and stop moving earlier. Let the seeker scan pass before correcting color, camera angle, or pose.
Use this with dark corner: Ask if the corner looks like a real object belongs there.
Practice focus: pose choice
Next round, choose one pose that makes your body read like a nearby object. Avoid limbs, head shapes, or long edges that cut across the surface pattern.
Use this with dark corner: Ask if the corner looks like a real object belongs there.
Practice focus: surface fit
Next round, pick a surface where an object would plausibly belong before painting. A close color cannot rescue a spot that looks empty or impossible.
Use this with dark corner: Ask if the corner looks like a real object belongs there.
Practice focus: scan path
Next round, keep the same surface family but move just outside the direct sweep path. Judge the hide from where the seeker actually walks.
Use this with dark corner: Ask if the corner looks like a real object belongs there.
Bright/signage area
Pattern note
High contrast attracts attention; pattern discipline matters.
Pose note
Avoid poses that create readable limbs or long edges.
Risk
High
Surface tip
Prefer believable placement over flashy color matching.
Practice focus: dominant color
Next round, keep the same surface and pose, then adjust only the dominant paint color. Do not chase tiny details until the first scan looks close.
Use this with bright/signage area: Prefer believable placement over flashy color matching.
Practice focus: silhouette
Next round, keep the same paint color and only change your pose. Stand on the seeker path for three seconds and check whether your outline still looks like a player.
Use this with bright/signage area: Prefer believable placement over flashy color matching.
Practice focus: stillness
Next round, choose the same style of spot and stop moving earlier. Let the seeker scan pass before correcting color, camera angle, or pose.
Use this with bright/signage area: Prefer believable placement over flashy color matching.
Practice focus: pose choice
Next round, choose one pose that makes your body read like a nearby object. Avoid limbs, head shapes, or long edges that cut across the surface pattern.
Use this with bright/signage area: Prefer believable placement over flashy color matching.
Practice focus: surface fit
Next round, pick a surface where an object would plausibly belong before painting. A close color cannot rescue a spot that looks empty or impossible.
Use this with bright/signage area: Prefer believable placement over flashy color matching.
Practice focus: scan path
Next round, keep the same surface family but move just outside the direct sweep path. Judge the hide from where the seeker actually walks.
Use this with bright/signage area: Prefer believable placement over flashy color matching.
Surface reference
Practice against surfaces, not copied maps.
Choose a surface type, read the color, pattern, pose, and risk notes, then retest the one hiding mistake that exposed you last round.
Start from the surface that exposed you: flat wall, tiled floor, tiled wall, busy shelves, dark corner, or bright signage. Then choose the failure reason that best matches the loss. The MECCHA CHAMELEON Camo Lab result gives one practice focus so the next round changes only one habit.
Turn the result into a round test
Use MECCHA CHAMELEON Camo Lab as a rehearsal card for the selected surface and failure reason. In your next private room, change one habit only: dominant color, silhouette, stillness, pose choice, surface fit, or seeker-path distance. Then compare the result with the painting checklist.
How to use Camo Lab results
Camo Lab is useful only if the player translates the surface prompt into the real paint loop: open paint controls, sample or choose a surface color, pose, then ask whether the seeker sees a body outline. The swatches are practice anchors for that review.
Use it after a failed hide, not before every round. Pick the surface that felt closest, compare palette, pattern rhythm, pose, and movement risk, then return to the painting guide for the full silhouette checklist.
Treat the fixed swatches as review prompts: they help you name the mistake, choose one habit to retest, and avoid turning every loss into a random color change.
Pick the surface that most resembles your current hiding area.
Read the pattern note before choosing a pose; repeated grids, clutter, and dark corners punish different mistakes.
Map the prompt back to controls: F for paint mode, R for pose changes, left mouse for paint, and middle mouse behavior as reported by source by controls guides.
Treat high-risk surfaces as training prompts rather than recommended hiding spots.
After a match, compare why the disguise failed with the Camo Lab risk note.
Return to the painting guide when you need a full placement and silhouette checklist.
FAQ
When should I use MECCHA CHAMELEON Camo Lab Lite?
Use MECCHA CHAMELEON Camo Lab after a failed hide, when you can name the surface and likely failure reason, then want one quick prompt for color, silhouette, pose, movement, or seeker-path risk.
How do I compare a real screenshot?
Keep the screenshot in your own notes, then compare dominant surface color, pattern direction, object density, and seeker path against the closest MECCHA CHAMELEON Camo Lab surface card.
How should I treat the color swatches?
Use MECCHA CHAMELEON Camo Lab swatches as training anchors. The decision still depends on the current room, lighting, pose, movement, and the path a seeker is likely to scan.
Field note: test one action at a time, compare it with the current game UI, then update your room, controls, or hiding habit only after the result is clear.